Are you ready to get rid of that unsightly “popcorn” ceiling in your home once and for all? Have you recently purchased a home but want to get rid of the tacky stippled ceiling that should have been left with fanny packs, velour, and scrunchies in the dustbin of history? With this how-to-guide, it’s never been easier to simplify your ceiling’s texture and appearance.
Step 1: Test for Asbestos
Before attempting to perform the removal of your stippled ceiling, it is crucial that you test for asbestos. Head to the nearest hardware store or shop with a hardware section and grab an asbestos testing kit, for it can protect your health. If your ceiling tests positive, call a handyman team prepared for such hazards such as To Do-Done. Let us handle it with appropriate equipment, and never attempt to work with asbestos on your own.
Step 2: Prepping and Spraying
When cleared for action, ensure all furnishings and décor are either removed from the room or pushed to the centre and appropriately covered. Plastic sheeting, drop cloths, and similar coverings will allow for a simplified and quick cleaning-up as well as protect your flooring and furnishings from the impending cloud of dust bunnies and ceiling debris.
Next, proceed to fill a spray bottle with clean, warm water. Being very careful not to oversaturate the stipple coating, spray 10 square feet or less of the ceiling at a time before letting it sit for 20 minutes or so. If you overdo it, the surface of your drywall resting just underneath the coating could be damaged and cost you a pretty penny to fix.
Step 3: Scraping and Debris Removal
Now, slowly and carefully remove your unwanted “popcorn” coating by working away at one section at a time with a wide drywall scraper. Wearing protective eyewear would be a good idea at this stage, as debris will rain down from the ceiling as you work. Be careful to not gouge corners or exert too much force, as doing so can puncture your ceiling or upper walls, and apply even pressure throughout the scraping process to ensure an equally effective smoothing across the entire area of your ceiling.
With the irksome “popcorn” scraped cleanly off, now focus on cleaning up the debris and unwanted residue that has fallen to the floor. Roll up the protective material you placed that has collected the debris, and give it a good shake over the garbage bin. Now, either lay down more drop cloths or reapply the plastic sheeting.
Step 4: Touch Up with Drywall Compound
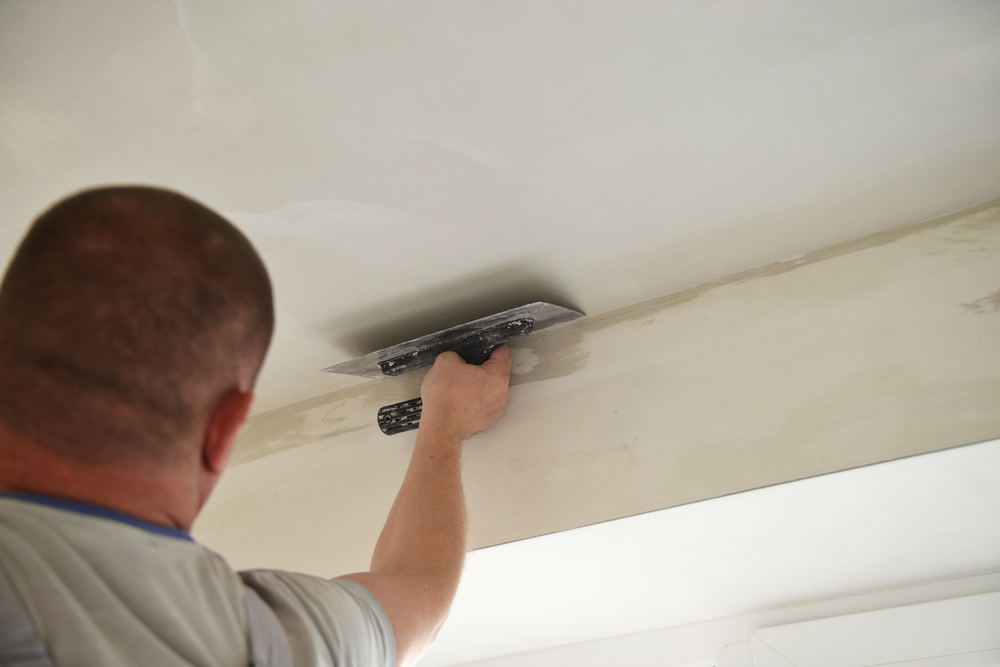
Now, you’re ready to touch up your ceiling by applying drywall compound. Using a drywall knife on areas requiring a touch up after your satisfying scraping session, apply the compound to ensure that your entire ceiling has a smooth, complete coating. Then, take a well-deserved break and allow it to dry overnight.
Returning in the morning when dry, take a sanding block to the surface and delicately smooth everything out further. Afterward, wipe the ceiling clean with a damp cloth and inspect to ensure you haven’t missed any imperfections.
Step 5: Prime, Paint, And Celebrate
The final step is to apply a solid coat of primer and paint to your ceiling via a roller fitted with an extension attachment. The best way to make sure you’ve covered the complete surface area of your ceiling is to use a tinted paint that turns white as it dries, which will speed up and simplify the process. When dry, move your furnishings back to their original places in the room, and inspect for any debris you might have missed along the way.
These steps correctly, you now boast a simplified, clean, streamlined, and most importantly “popcorn”-free ceiling. If you don’t want to go through all of this work, don’t have the time, or would simply rather be sitting on the back porch sipping a mojito, just give us at To Do-Done a call.